When I want a dessert that feels festive, portable, and just a little bit special, Red Velvet Cake In A Jar is always at the top of my list.
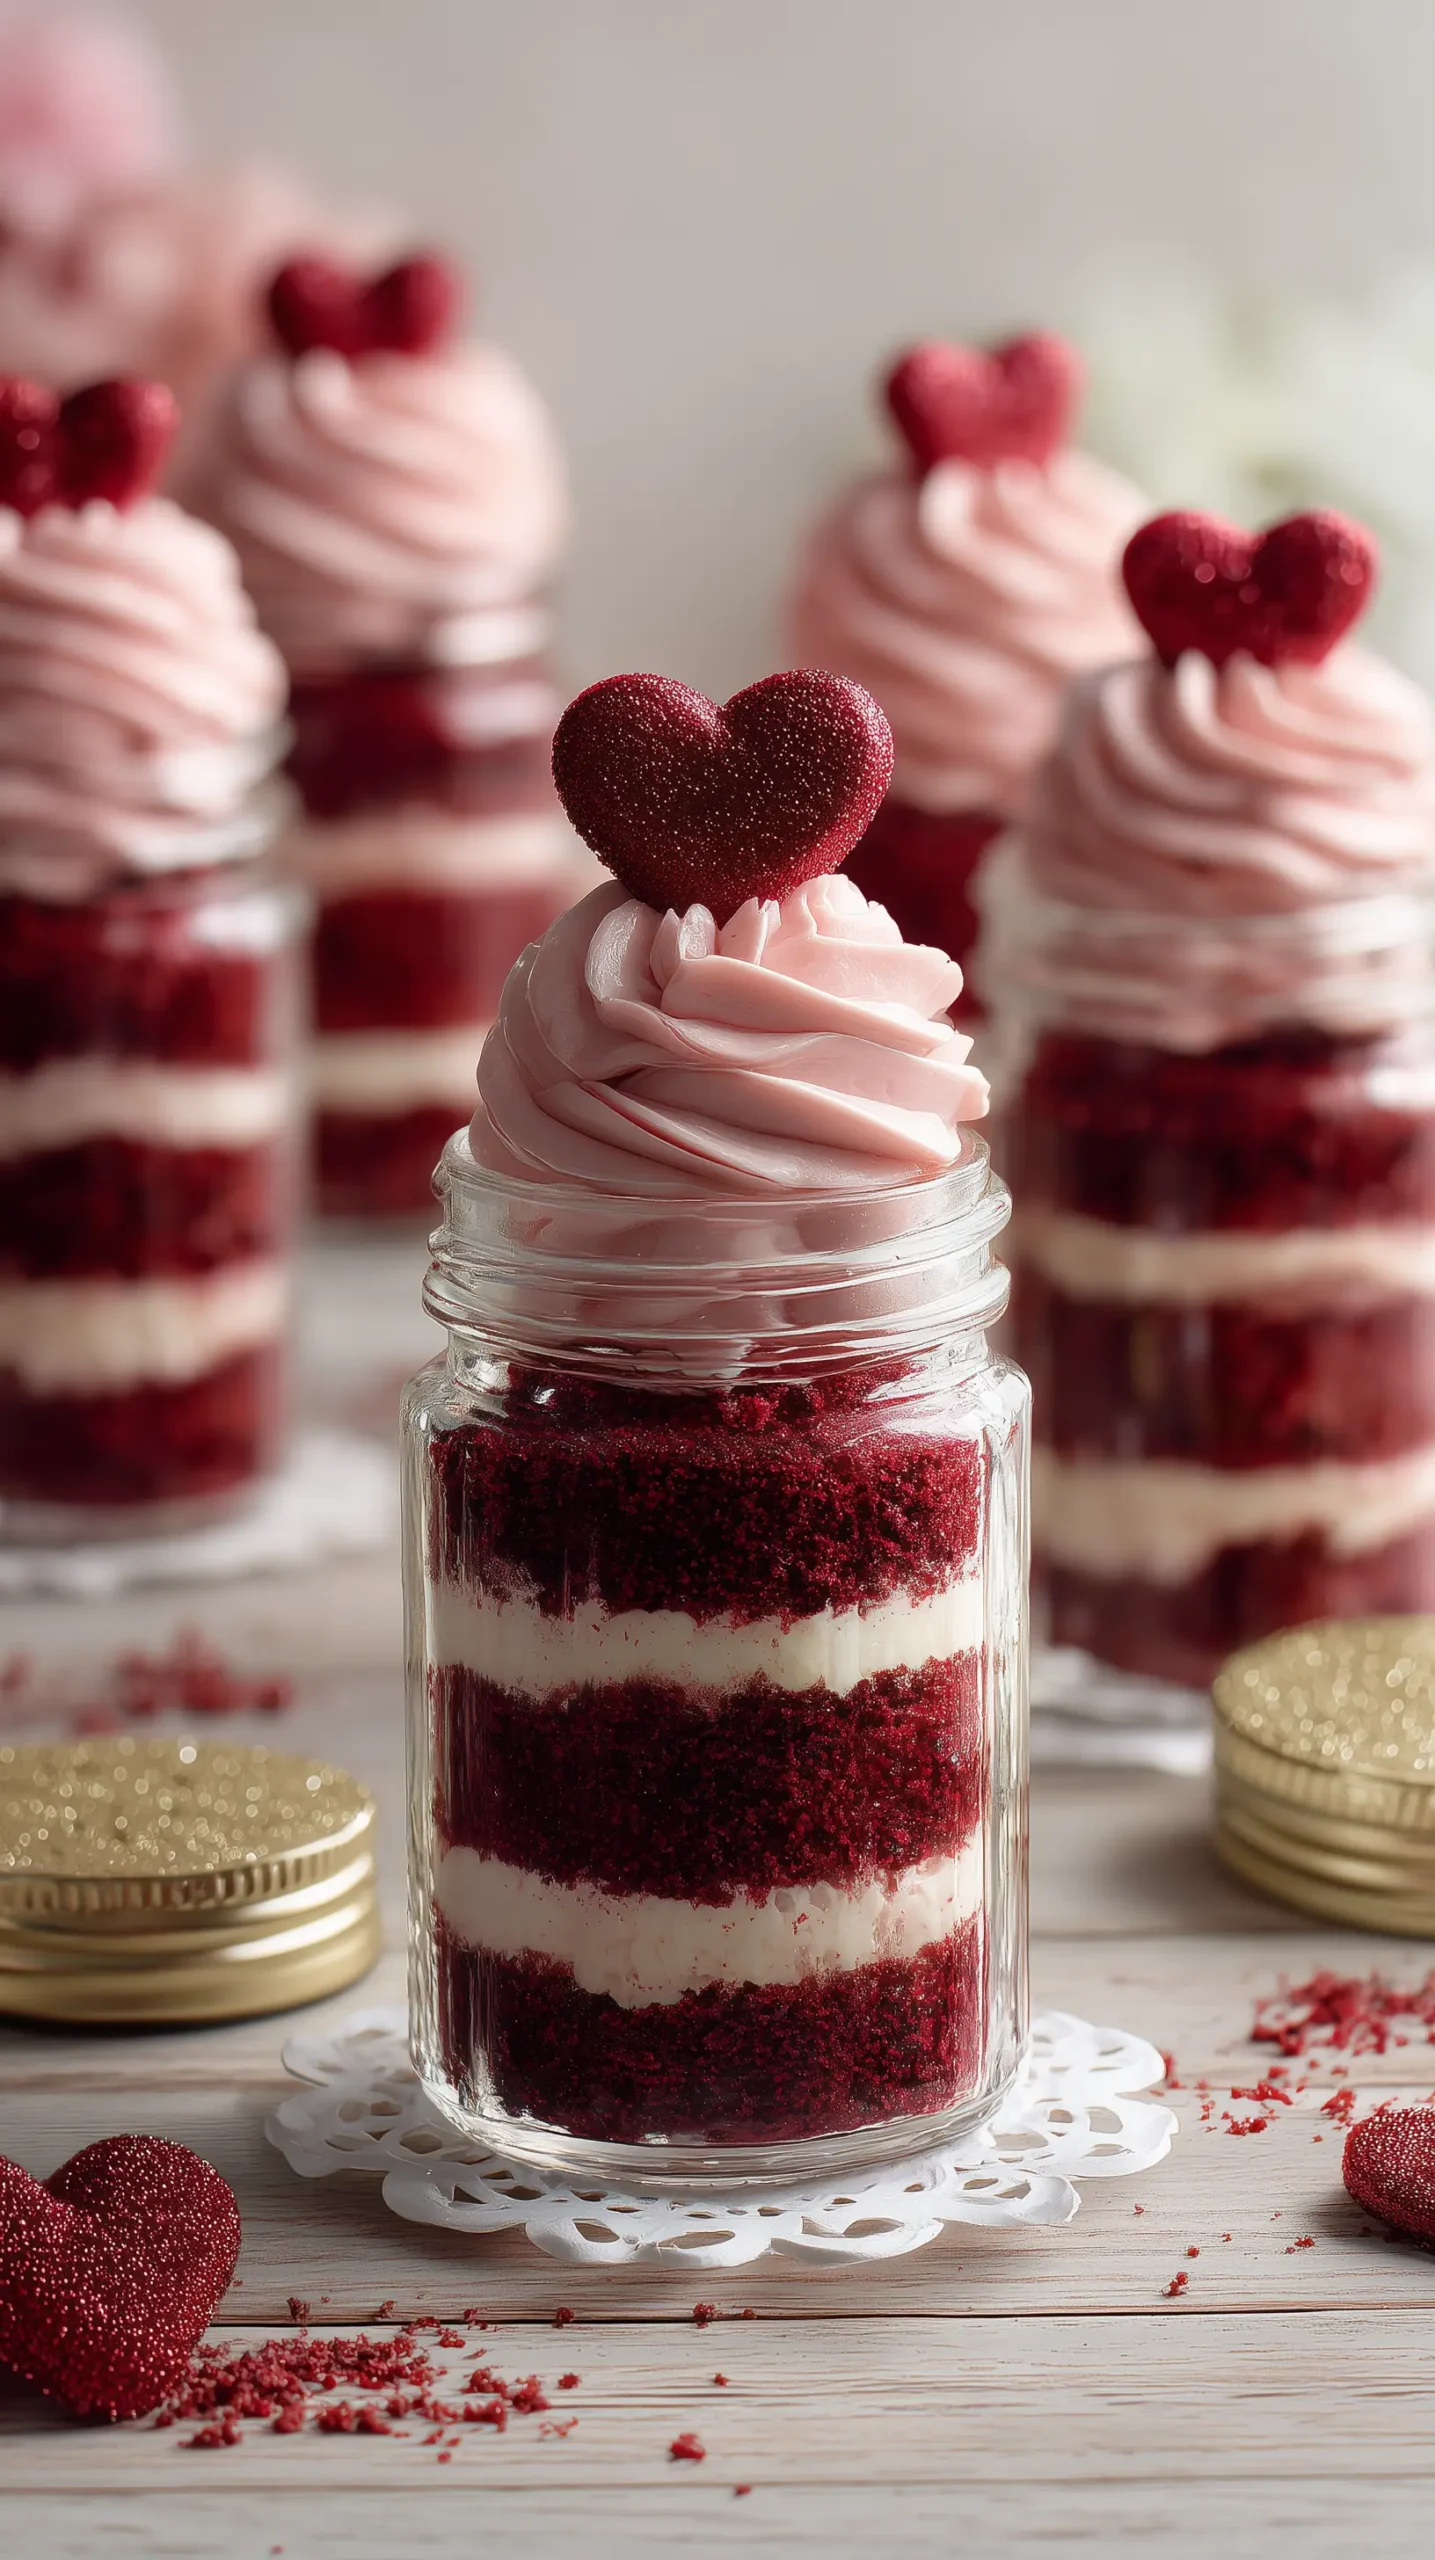
There’s something about those bold red cake layers paired with creamy frosting in a clear jar that instantly makes this dessert feel gift-worthy and celebratory.
It’s perfect for Valentine’s Day, parties, or anytime you want a sweet treat that looks as good as it tastes.
This recipe layers moist red velvet cake with silky cream cheese frosting in individual jars, making it easy to serve, store, and share.
Inspired by classic red velvet cake, this jar version delivers the same flavor and texture in a fun, modern presentation that’s ideal for make-ahead desserts.
Recipe Highlights
Red Velvet Cake In A Jar is the perfect combination of visual appeal and classic flavor. The deep red cake layers contrast beautifully with pale pink or white frosting, making each jar feel like a little dessert showcase.
Because everything is layered, every spoonful delivers cake and frosting together.
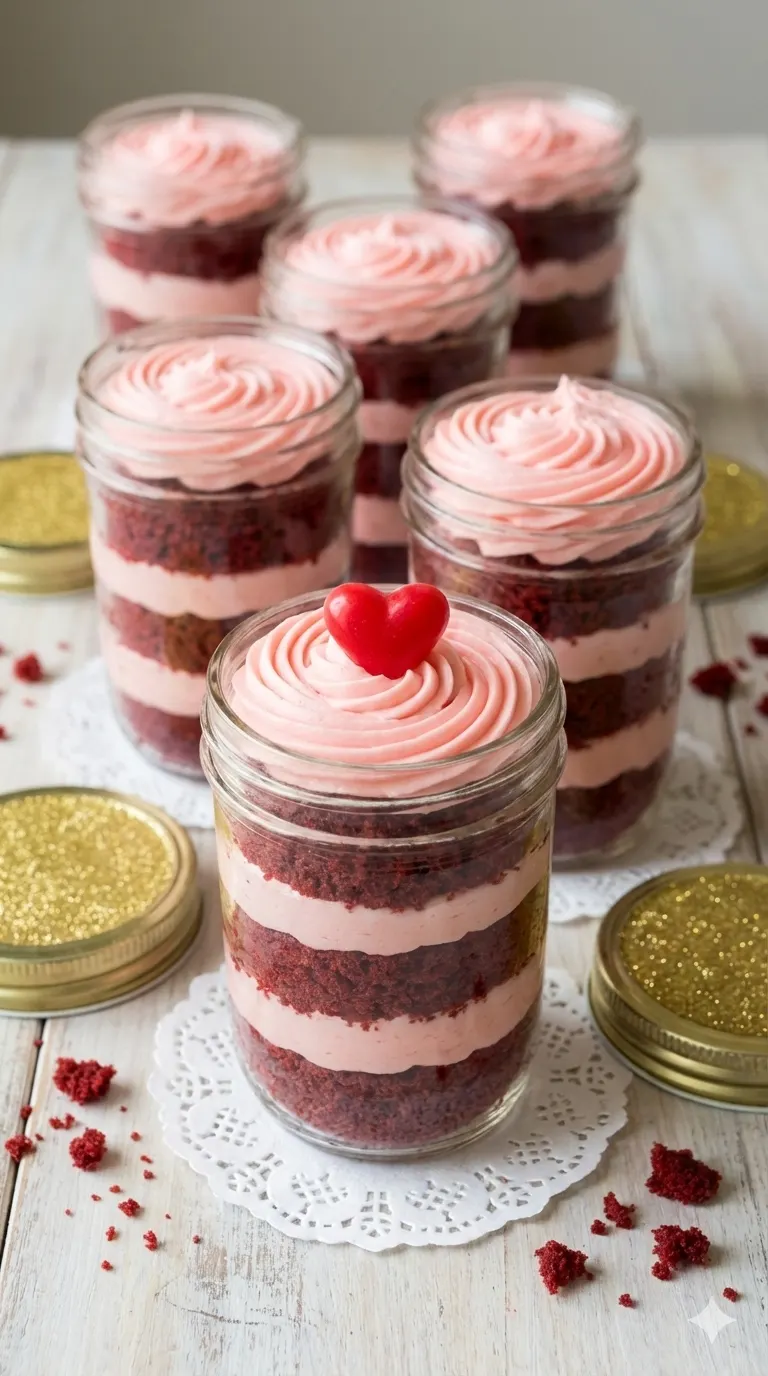
This dessert is also incredibly practical. The jars make portion control easy, reduce mess, and are ideal for transporting to gatherings or gifting.
They’re especially popular around Valentine’s Day because they feel personal and thoughtfully assembled.
Another highlight is how customizable this recipe is. You can adjust the frosting flavor, add fillings, or change the presentation while keeping the core recipe simple and reliable.
- Individual, portable Valentine’s dessert
. - Classic red velvet flavor in a modern presentation
. - Perfect for gifting, parties, and make-ahead prep
. - Beautiful layered look with minimal effort
. - Easy to customize with flavors and toppings
Ingredient Notes
Each ingredient plays an important role in achieving the signature color, flavor, and texture of red velvet cake in jar form.
- All-purpose flour: Provides structure while keeping the cake soft and tender.
. - Unsweetened cocoa powder: Adds subtle chocolate flavor without overpowering the red velvet taste.
. - Granulated sugar: Sweetens the cake and helps maintain moisture.
. - Vegetable oil: Keeps the cake moist even after chilling in jars.
. - Buttermilk: Adds tang and contributes to the classic red velvet texture.
. - Red food coloring: Creates the iconic red velvet appearance.
. - Cream cheese: Forms the base of the rich, tangy frosting.
. - Unsalted butter: Adds smoothness and richness to the frosting.
. - Powdered sugar: Sweetens and thickens the frosting for clean layers.
How to Make My Red Velvet Cake In A Jar
- Prepare the oven and pan. Preheat the oven and line a baking pan with parchment paper.
. - Mix dry ingredients. Whisk together flour, cocoa powder, baking soda, and salt.
. - Combine wet ingredients. Mix sugar, oil, buttermilk, eggs, vanilla, vinegar, and food coloring until smooth.
. - Make the batter. Slowly combine wet and dry ingredients until just mixed.
. - Bake and cool. Bake until set, then allow the cake to cool completely.
. - Prepare frosting. Beat cream cheese, butter, and powdered sugar until smooth and fluffy.
. - Assemble jars. Layer cake and frosting into jars, repeating until full.
What Kind of Jars Work Best for Red Velvet Cake In A Jar
For best results, use clear, straight-sided jars so the red velvet cake and frosting layers are fully visible.
Glass jars work best because they’re sturdy, reusable, and showcase the layers beautifully—one of the biggest appeals of this dessert.
Avoid tinted or textured jars, as they can hide the contrast between the cake and frosting.
The ideal size is 6-ounce to 8-ounce jars. This size creates the perfect individual portion without overwhelming the eater and allows for multiple clean layers of cake and frosting.
Wide-mouth jars or short mason jars are especially helpful because they make layering easier and prevent the cake from getting compressed during assembly.
If you’re making these for gifting or events, jars with screw-top lids are a great choice for easy transport and storage.
For serving at home, open jars or small glass dessert cups also work well and give the dessert a more elegant presentation.
Recommended Jar Sizes
| Jar Size | Best For | Notes |
|---|---|---|
| 4-ounce jars | Tasting portions, dessert samplers | Great for mini desserts or party platters; allows 2–3 thin layers |
| 6-ounce jars | Standard individual servings | Ideal balance of cake and frosting; most popular size |
| 8-ounce jars | Generous portions, gifting | Allows thicker layers; best for wide-mouth jars |
| 12-ounce jars | Sharing or layered centerpiece desserts | Not recommended for individual servings; layers can feel heavy |
Quick Tip
For the best presentation and easiest assembly, 6-ounce or 8-ounce wide-mouth glass jars are the sweet spot.
They show off the layers beautifully and keep portions just right.
Serving Suggestions
- Valentine’s Day dessert tables
. - Party or shower favors
. - Romantic dinner desserts
. - Holiday cookie trays
. - Gifted in decorated jars
Variations & Substitutions
Red Velvet Cake In A Jar is easy to customize while still keeping that classic red velvet flavor people love.
If you prefer a less tangy frosting, you can replace the cream cheese frosting with a vanilla buttercream or whipped mascarpone frosting.
This creates a sweeter, lighter profile that still pairs beautifully with the cocoa notes in the cake.
For extra texture and flavor, consider adding a thin filling layer between the cake and frosting.
Crushed chocolate sandwich cookies, mini chocolate chips, or shaved dark chocolate all add contrast without overpowering the dessert.
A spoonful of strawberry or raspberry preserves can also be layered in for a subtle fruity twist that works especially well for Valentine’s Day.
If you need to avoid artificial food coloring, beet powder or beet juice can be used as a natural alternative.
While the color will be slightly deeper and more muted, the jars will still have an appealing red hue.
Gluten-free all-purpose flour blends also work well in this recipe, as the jars help keep the cake moist and tender.
Can I Make This Ahead?
Yes, Red Velvet Cake In A Jar is an excellent make-ahead dessert and is actually best when prepared in advance.
Once assembled, the jars can be refrigerated for up to four days, allowing the cake and frosting to settle and meld together for an even better texture.
If you’re preparing these for a party or gifting, you can bake the cake and make the frosting a day ahead, then assemble the jars the following day.
This breaks the process into manageable steps and keeps everything fresh and stress-free.
For longer storage, the assembled jars (without decorative toppings) can be frozen for up to two months.
Thaw overnight in the refrigerator before serving, then add any garnishes just before presentation.
Common Mistakes to Avoid
One of the most common mistakes is assembling the jars while the cake is still warm. Warm cake will cause the frosting to melt and blur the layers, taking away from the clean, visual appeal that makes this dessert so special.
Always allow the cake to cool completely before cutting and layering.
Another issue is overfilling the jars with frosting. While frosting is delicious, too much can overwhelm the cake and make the jars difficult to eat.
Balanced layers ensure each bite tastes like classic red velvet rather than just sweet frosting.
Using jars that are too narrow can also make assembly frustrating. Wider-mouth jars or small mason jars make it much easier to layer neatly and keep the presentation polished.
Tips for the Best Red Velvet Cake In A Jar
For clean, defined layers, make sure the cake is completely cooled before assembling the jars.
A warm cake can cause the frosting to melt and blur the layers. Using a piping bag for the frosting also helps create neat, even layers.
When cutting cake rounds to fit the jars, use the jar itself as a guide. Press gently and avoid compressing the cake, which can make the layers dense.
Light, even pressure keeps the texture fluffy.
If you want a softer pink frosting, add just a small amount of food coloring or a spoonful of cake crumbs.
This keeps the frosting light while enhancing the Valentine’s look.
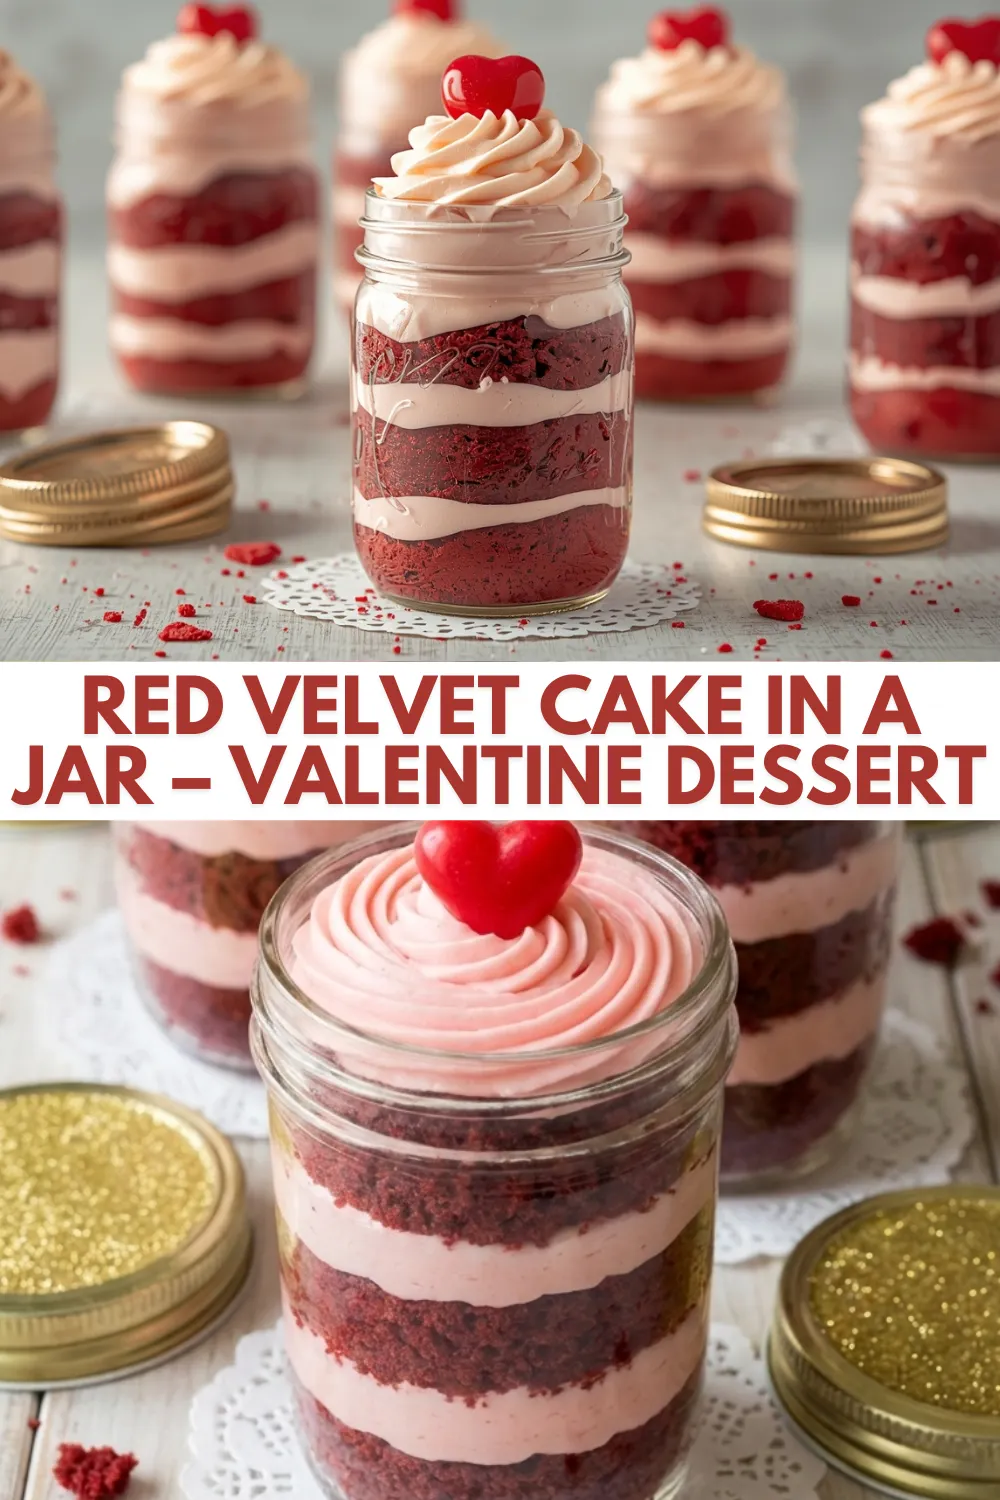
Red Velvet Cake In A Jar – Easy Valentine Dessert
Course: DessertCuisine: AmericanDifficulty: Intermediate6
jars30
minutes25
minutes400
kcalRed Velvet Cake In A Jar is a beautiful, make-ahead Valentine’s dessert that delivers classic red velvet flavor in a fun, giftable format.
Ingredients
2 cups all-purpose flour
2 tablespoons unsweetened cocoa powder
1 teaspoon baking soda
½ teaspoon salt
1½ cups granulated sugar
1 cup vegetable oil
1 cup buttermilk
2 large eggs
1 tablespoon vanilla extract
1 tablespoon white vinegar
2 tablespoons red food coloring
8 ounces cream cheese, softened
½ cup unsalted butter, softened
3 cups powdered sugar
Directions
- Preheat the oven to three hundred fifty degrees Fahrenheit and line a rectangular baking pan with parchment paper. In a bowl, whisk together flour, cocoa powder, baking soda, and salt.
- In a separate bowl, combine granulated sugar, vegetable oil, buttermilk, eggs, vanilla extract, vinegar, and red food coloring until smooth. Slowly add the dry ingredients and mix just until combined.
- Pour the batter into the prepared pan and bake until a toothpick inserted comes out clean. Allow the cake to cool completely before assembling.
- For the frosting, beat softened cream cheese and butter until smooth. Gradually add powdered sugar and beat until light and fluffy.
- Cut cake rounds to fit your jars. Layer cake and frosting alternately until jars are filled. Seal or serve immediately.
Notes
- Use clear jars to showcase layers
- Pipe frosting for clean presentation
- Chill briefly before serving for the best texture
Storage & Make-Ahead Tips
- Store jars covered in the refrigerator
. - Keeps well for up to four days
. - Ideal for making ahead of parties
. - Add decorative toppings just before serving
Frequently Asked Questions
Can I use store-bought cake mix for this recipe?
Yes, a red velvet cake mix can be used as a shortcut. Simply bake according to package directions, then proceed with the jar assembly.
How do I get clean, even cake layers in the jars?
Use the jar itself as a cutter or a round cookie cutter slightly smaller than the jar opening. Press gently to avoid compressing the cake.
Can I transport these jars easily?
Yes, the jars are very travel-friendly. Keep them chilled, screw the lids on tightly, and transport them upright in a sturdy container.
Can I freeze Red Velvet Cake In A Jar?
Yes, jars can be frozen without toppings for up to two months.
Do I need to refrigerate these jars?
Yes, refrigeration is recommended due to the cream cheese frosting.
Can I use mason jars or plastic jars?
Both work well as long as they are food-safe and sealable.